The US Airborne formation had moved quickly to the riverside and begun an assault across the river (that would take two turns to cross) into the face of very heavy German fire, including from a 20mm Quad AA gun on a building roof, from turn one. However casualties were horrific for the first two turns and the assault looked set to be a failure, with Dan having to commit more troops in the knowledge their chances were slim at best. But then on turn three the off board British artillery was able to shift target from supporting 30th Corps to the river assault. At the start of turn three the big guns hammered down (with a prep bombardment) onto the Frundsberg Kampfgruppe commanding the northern riverside. Whilst no units were destroyed, the sheer weight of the barrage laid enough pins on the defenders to prevent them from further interfering with the US small boats. Add to this clever use of smoke cover from US mortars and the Americans were across.
The US vets were then able to make short work of the German river line defence, with the 101st also sending reinforcements in; however fighting carried on in the town as the Germans, led by KG Hohenstaufen tried to break back into the town. Tenacious US defence and a critical air strike on the Quad autocannon meant the first elements of 30th Corps to arrive found the bridge open and not under fire. The 30th Corps were late but thanks to decisive US action (so different to actual events at Nijmegen) to grab the bridge, the way was open to Arnhem.
Meanwhile in Arnhem
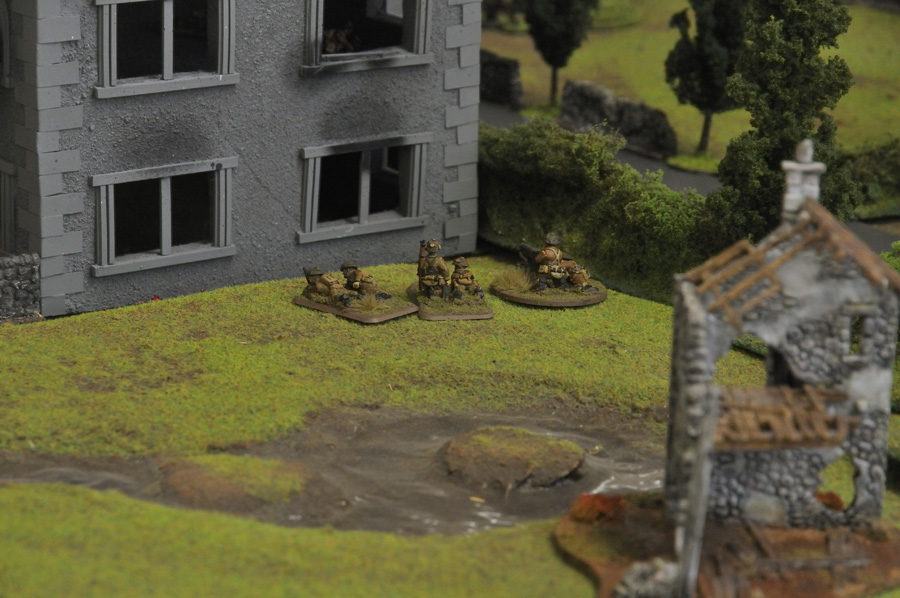
1st Para led by Johno had changed the original plan and landed to the south of the bridge, with Den to the north with 2nd Para. Both advanced as quickly as they could towards the bridge to overwhelm the weak holding force before reinforcements could arrive. This mission completed by turn four, units screening the centre advance were already coming under pressure both north and south.

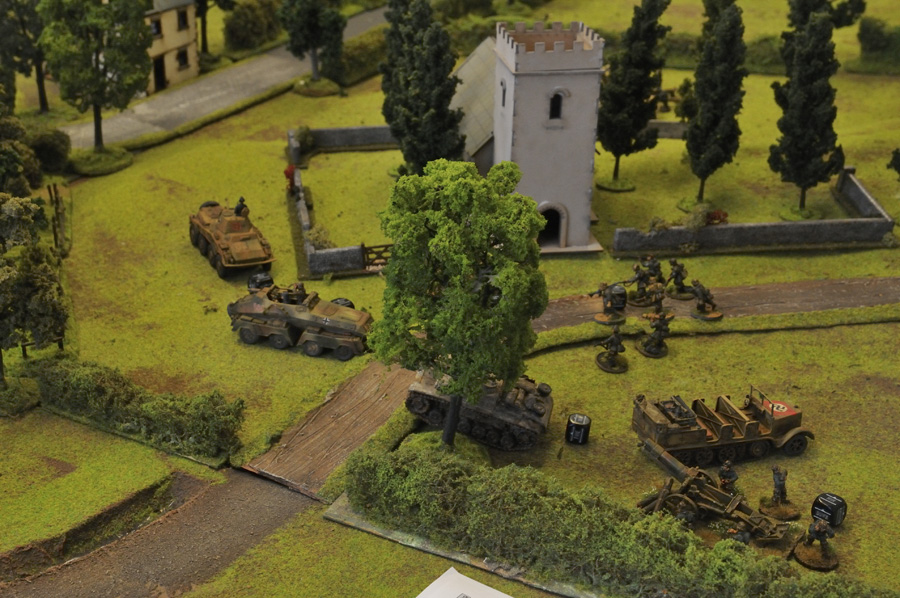
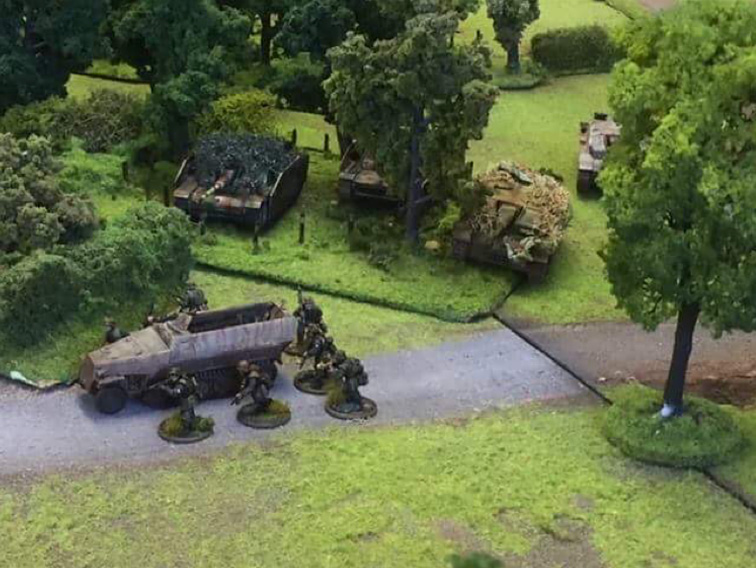
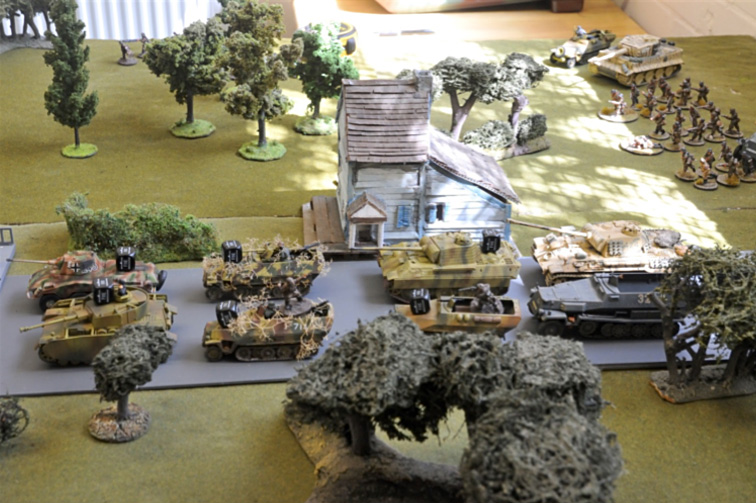
German forces arrived soon enough and had a heavy concentration of armour to the north, whilst Graebner’s famous 9th SS recon probed from the south.
However, the two Parachute formations, unlike their real counterparts 70 years ago, were expecting armour and so had brought as much AT as their gliders (and army list rules!) would allow. This meant the recce advance to the south was stopped completely. Deciding he would not be able to rush and take the bridge from the south, 9th SS instead sent its units to block 30th Corps when they arrived at Nijmegen.
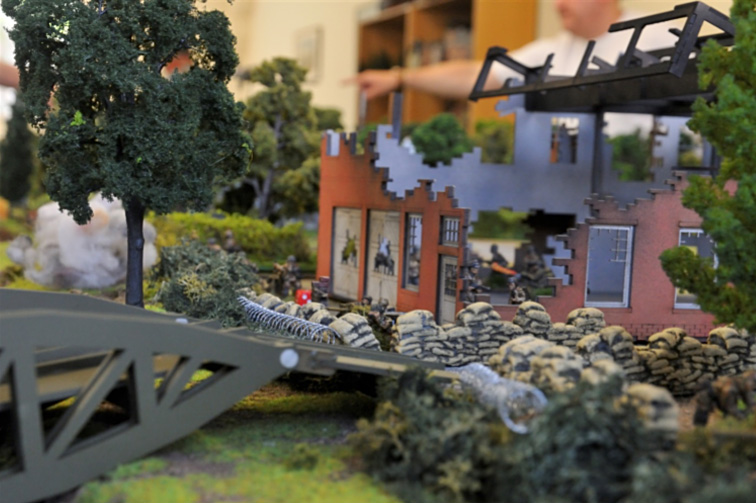
2nd Para in the meantime faced a furious attack from the north and with well placed AT assets and assistance from 1st Para was able to cling onto the north end of the bridge, though a building was lost in the process.
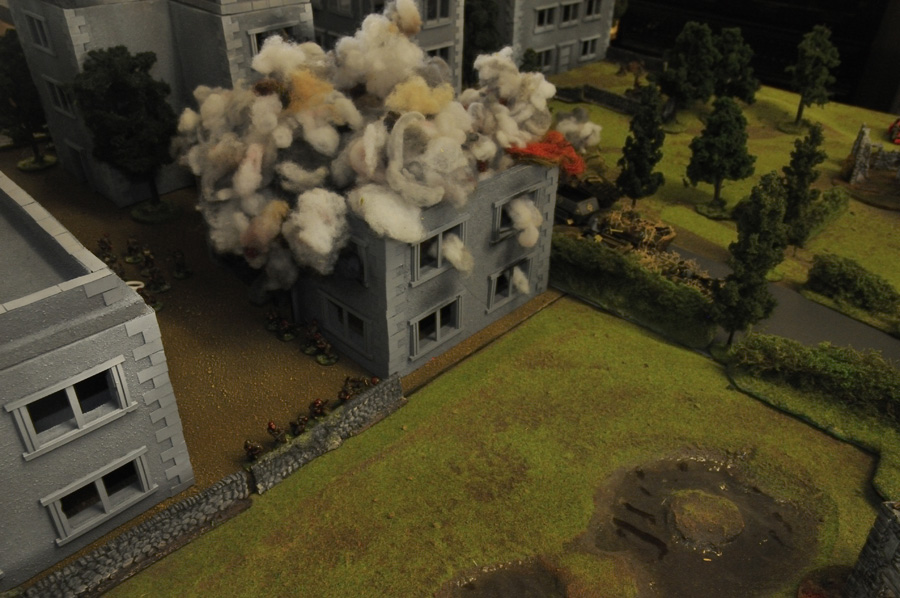
Despite continued German attacks and shelling, Arnhem was held.
Turn 9 onwards
With 30th Corps finally arriving (though not in force) north of the Waal, the German defenders threw everything they had left at the spear head. This was critical given the British paras had managed to hold onto Arnhem and its bridge with their tenacious defence and use of ambushes.
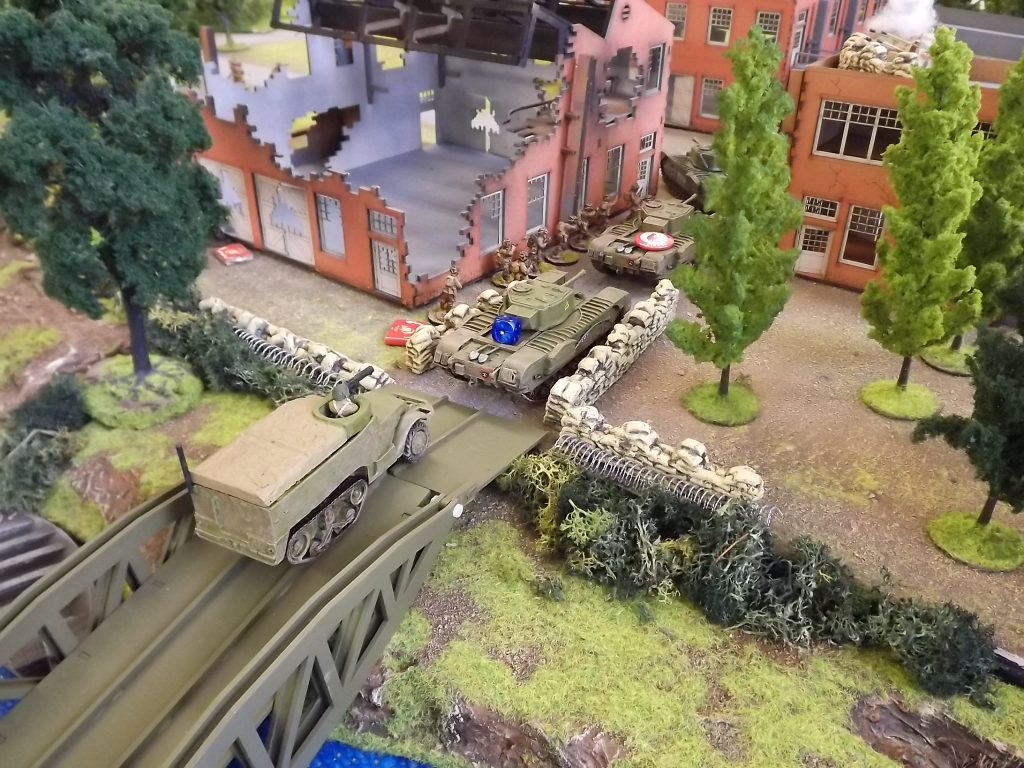
Hohenstauffen’s recon units caused merry mayhem but other forces had become engaged just south of Arnhem with the Polish parachute drop. This left a platoon of three Stug IIIs trying to cover the main road out of Nijmegen, with a Puma and PV IVH acting as blocking forces further north. Everything else was desperately trying to clear the Polish airborne away from the road. This was enough to prevent the 30th Corps armoured cars from moving up whilst the platoon of Churchill tanks advanced and fired trying to keep the Stugs from cutting off the road. Aggressive play by 30th Corps led to the Stug ambush petering out.
This on turn 11 gave a lone Cromwell the chance to run straight across the front of the Stugs’ guns (after their order dice had been used) and to advance up the road, into the teeth of the PZ IVH and Puma trap. This is when yet again the RAF came to the rescue with a Typhoon getting through AA defences to hit and destroy the PZ IV, also pinning the Puma. Somehow the Cromwell survived incoming shooting form AA guns which set it alight, only for the crew to manage to put out the fire.
The Cromwell tried its luck once more, running straight past the pinned Puma on the road and advancing to within easy sight of the bridge. At this point the brave crew’s luck ran out as the German force unleashed all firepower to prevent it reaching the bridge at all costs.
Conclusion
And with that, turn twelve was done and the clock had struck 5pm, the game was over, on schedule. On review the umpire awarded the game to the allies (to only limited grumbling) based upon the situation at the end of turn twelve. Whilst the link up had not yet happened (and in truth Paul who had designed the game had not expected a link up to be possible), the Allies had kept Hells Highway clear, held all the bridges (including Arrnhem north and south) and had 30th Corps racing out of Nijmegen with little left to stop it. The route was open to Arnhem and then onwards to Germany.
Additional photos