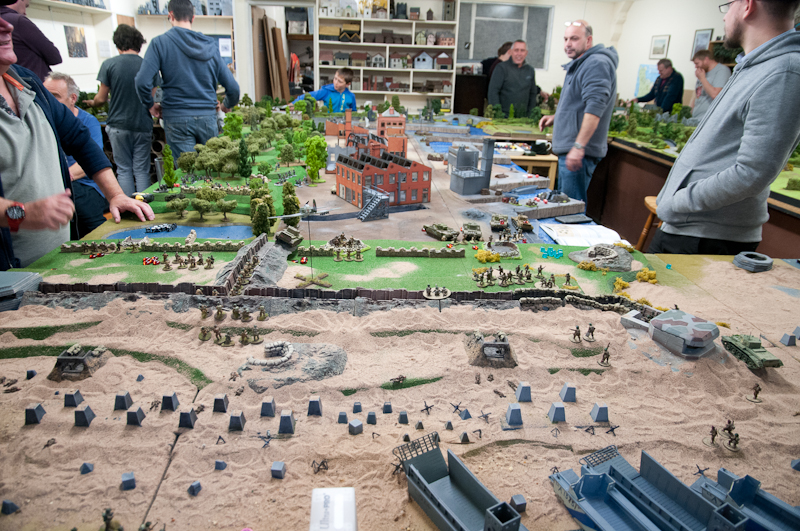
The game was played using Bolt Action rule set and played in our club house. This allowed us to set up a few days in advance.
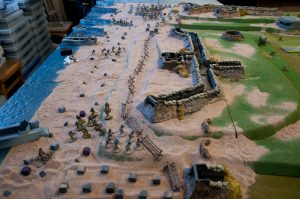
We utilised all of the tables. This gave us a table area of 452sq feet.
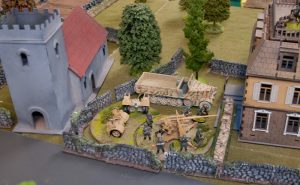
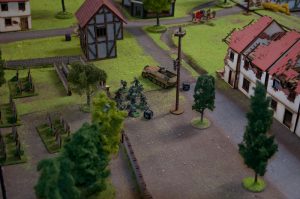
The boards and a lot of the scenery is custom made, or should I say Andy made.
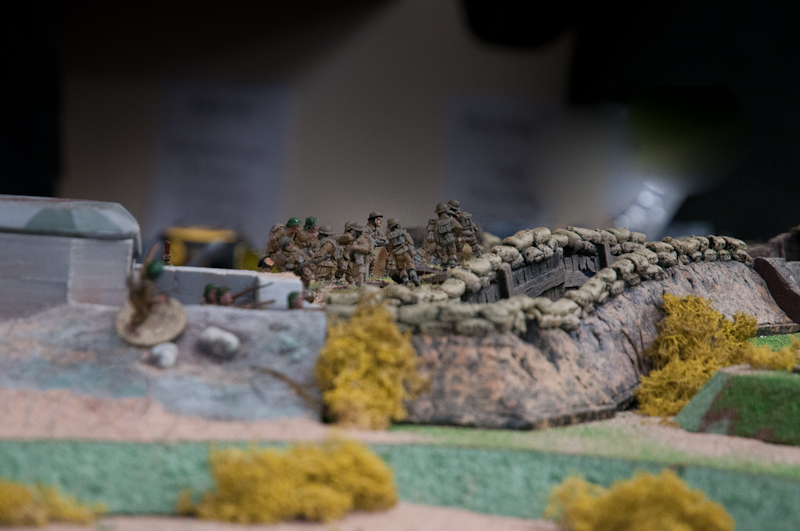
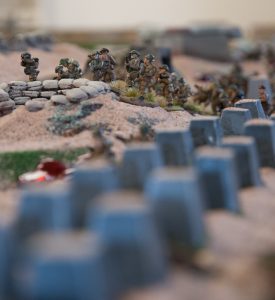
The main base is made in sections. The bocage again is hand made in different lengths and with a few little feature areas.
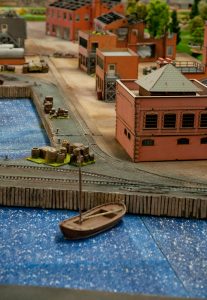
The dock area was purposely built by Andy for this game and took up a couple of weeks. It will be used again.
The ruined hamlet buildings, the dragons teeth and a few of the bridges, were kindly supplied to us for the game by Warlord Games and really helped bring the table to life. Thanks guys.
Pegasus Bridge was purchased a few years ago and been used many times in smaller games.
The amazing Industrial Factory buildings we used in the dock area, we purchased form Sarissa Precision.
The church used as a centre piece in Sainte-Mère-Église was purchased form 4Ground.
Other houses were from various manufactures and part of our stock collection of buildings.
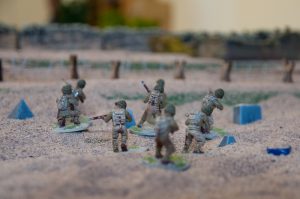
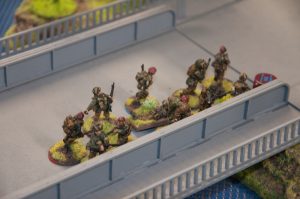
The figures again Warlord Games, were all from the collections of our members.
![]()
![]()
![]()
Part one
In the first part of our report we attempt to try a simulate a real life situation as close as is possible.
We thought it would be an interesting exercise, to see how much information could be obtained from front line commanders, while in a situation where they have no time to provide a detailed report to HQ. So guess what we did to them.
The large size of the game meant that, you could only really know what was happening in your sector. I myself, only discovered the detail of what had played out at Pegasus bridge, when I read the information supplied to me for this battle report.
This was painfully brought home to me, when my 88 that was situated in my rear, was destroyed by US Airborne troops. I only discovered this when I had dealt with the American forces landing on the beaches in front of me.
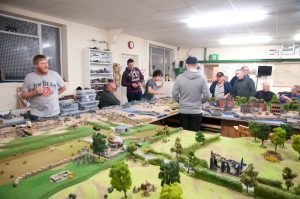
Even moving around the room taking photo from each of the different scenarios still didn’t give me an understanding of what was happening.
German commander beach defenses (Left wing)
The Americans have been able to land two large units on the beach.
My position has been weakened by enemy aircraft and heavy machine gun fire from the beach.
This has taken out my MMG support and decimated my right wing.
I succeeded in pinning the centre of the American attack on the beach, with the help of artillery support.
They have routed my left and right wings and so my weakened centre is now also falling back with our anti-tank guns.
We have made the second line and the American armour is pushing off the beach. We have suffered heavy casualties, but managed to stop the advance. We will not be able to hold this position for long.
My SS reserves have arrived and are now engaged with the enemy in my rear.
American commander beach
We went for a slow landing killing key units. But the first wave were killed by the defenders. The second and third waves had more success routing the Germans.
Our tanks then advanced into the surround farms but met strong defense from the second line and rallied defense and halted with the beach secure.
British commander Beach
The first wave of 8 units were wiped out by stiff German resistance. Second wave managed to pin some of the German defenders.
Bunkers on the beach taken out on 3rd turn. Once these were destroyed 3rd and 4th waves pushed through to the trenches. Air support and Naval gun fire suppressed German positions.
Tanks landed and pushed over forward positions into harbor facilities. Infantry failed to break through to paras.
German commander beach defenses (Right wing)
British suffered very heavy losses in the first two waves. But following very heavy air and naval support the third wave managed to take the beach defences.
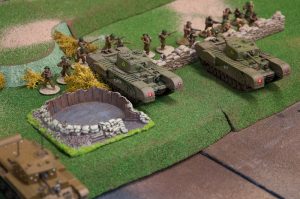
British Churchill tanks then started to push forward into the harbor area, but lacked infantry support and started falling victim to Panzerfaust teams and friendly fire from allied aircraft.
Pegasus Bridge German commander
The British paratroopers made successful landings behind the German lines. And were successful securing the bridge with their coup de main and were able to disarm the explosives on it.
However a strong German counter attack led by our excellent major Hans Schmidt, despite no armor support, retook the northern bridge end and so other para-troop drops further east have been cut off (including one on a V1 site which is contested, for now). We have denied use of the bridge to the British and will be able to use the bridge to bring armor up to the beachhead once OKW releases it for a counter attack.
Pegasus commander Bridge British
The British Paras took the bridge in a hard fought battle. The Germans counter attacked on the the last turn to contest the bridge. The V1 rocket site was also contested.
Sainte-Mère-Église
So far no reports have come out of Sainte-Mère-Église from either side.