
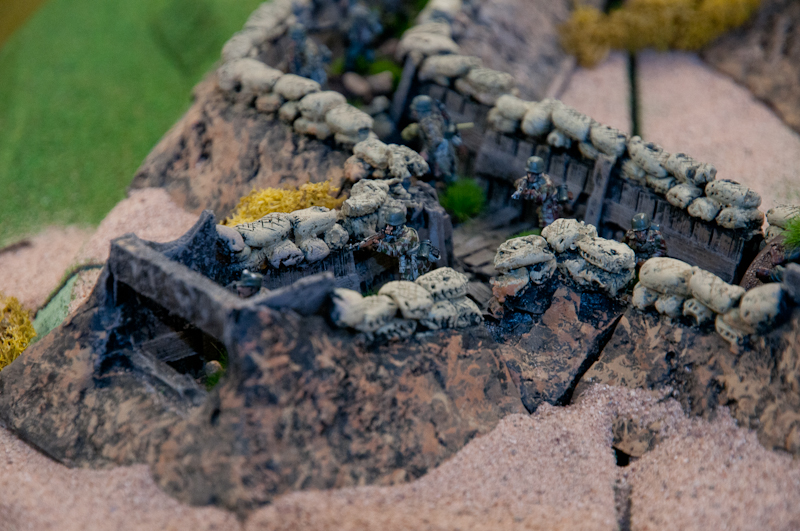
The British Landings
The British suffered very heavy losses in the first two waves. The first wave of eight units was was completely destroyed. The second wave although suffering heavy casualties were able by turn three able to take out the German bunkers.
Once this key part of the defences were eliminated. The allies called in another heavy naval bombardment and close air support.
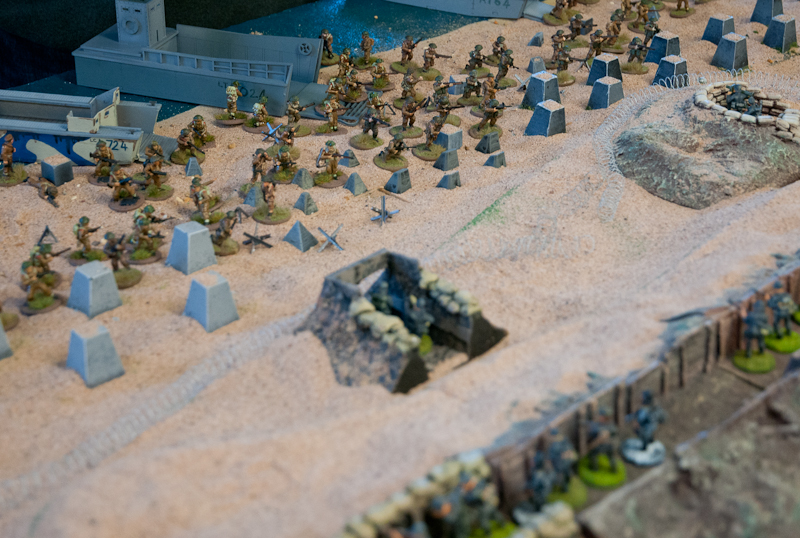
This allowed the third and forth waves of infantry to establish and foot hold on the beach, before pushing forward to attack and eventually over run the defence.
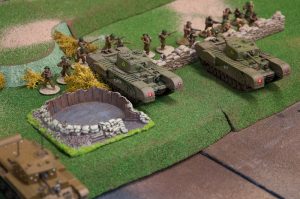
Now in full control of the beach they were able to land the Churchill’s.
The armour pushed forward into the harbour Area, but without any substantial infantry support the tanks started to fall victim of German teams armed with panzerFaust.
Further complicating matters the closer support that had been so successful getting the British of the beach, now began inflicting friendly fire, resulting in the British being bogged down and unable to push on to join forces with the parachute regiment, who were struggling to maintain their hold on Pegasus bridge.
The American Landings
The American forces went for a slow landing. Trying to take out key German units. The first wave suffered heavy casualties from sustained small arms fire and artillery.
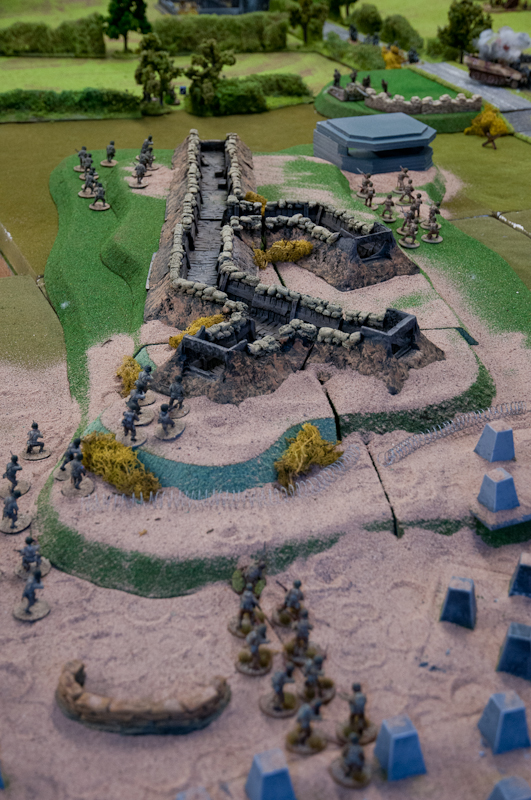
The Germans initial deployment of five units, was successful in holding off the first wave on one section of the beach. The second and third waves were more successful. With Close air support they were able to start inflicting heavy casualties.
To make things worse, the defensive line on the German right and there forward machine gun positions failed to have much impact on the landing. This was also due to effective air support, that successfully pinned and inflicted casualties on the defenders, before they were able to come into action.
So by about turn six or seven the German right was falling back with heavy losses.Taking with them their anti tank guns. This forced the left, also much weakened to also fall back.
Now able to land their armour, the Americans started to pushed forward with their Sherman’s, punching a hole through the centre, inflicting casualties on the retreating German artillery.
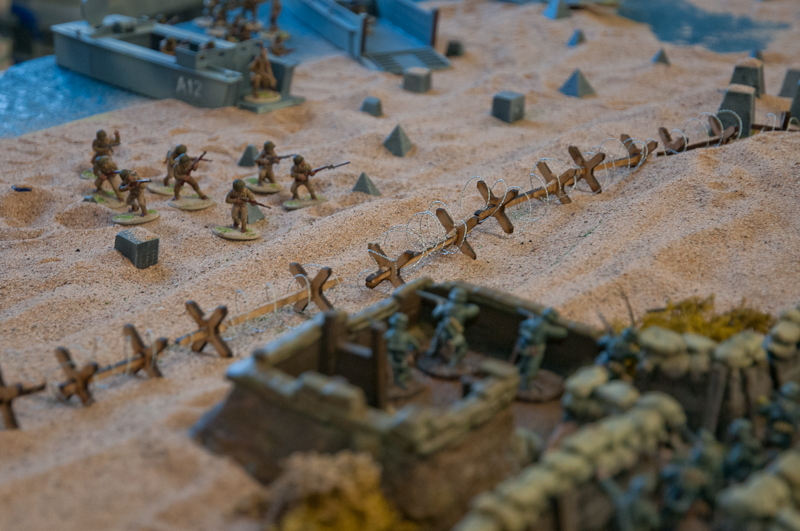
The infantry were held up by the wire and remained to long on the beaches. Allowing the Germans time to regroup.
When the The Americans did advance on their right, it was checked by effective German fire, wiping out a whole unit in one turn as it advanced. It was more successful on their left and centre, where their infantry had made it off the beach in force and could combine with their armour fast advancing on the centre. Here the second line of the German defence was weak. The Germans had managed to brig up a mobile MMG squad that was able to check the infantry advance, before being eliminated by machine gun fire from a Sherman.
But this proved just enough for the Germans and although the Americans inflicted more heavy casualties, they also, like the British suffered from the determined elite Fallschirmjäger units, armed with Panzerfaust, who were able to destroy two tanks and cripple a third, stopping the advance dead.
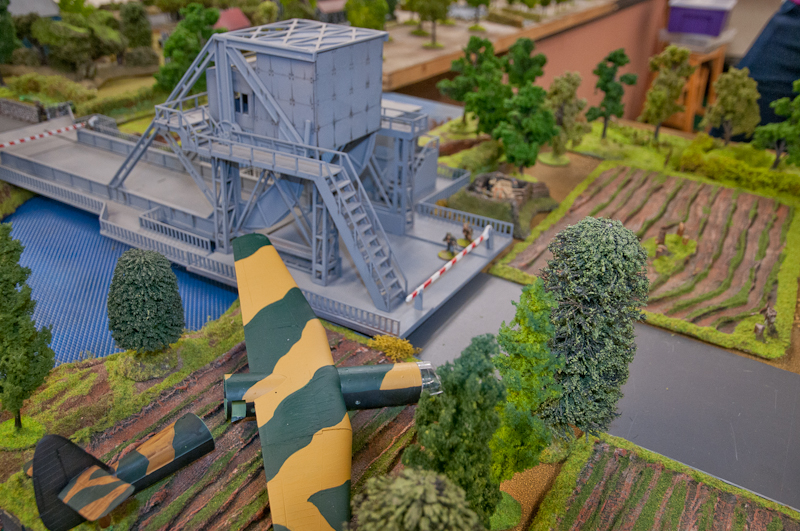
Pegasus Bridge
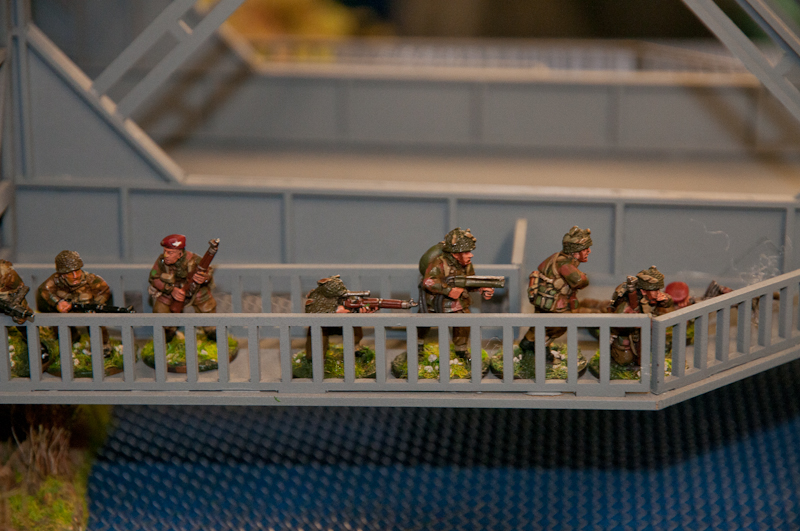
The gliders of the British paratroopers made successful landings behind the German lines, in the early morning and quickly overwhelmed a patrol on the bridge. A flak unit was able to open up and severely harm the paras, slowing them before they overwhelmed the gun position as well as an LMG team in the bridge house. Paras then started to rush across the bridge though were slowed when a nebelwerfer direct hit broke up their advance momentarily.
To the north, a para drop threatened our 88mm in the town but a strong counter attack drove back and destroyed this force, helped by the arrival from the east of a section in a Hannomag. A key moment came when our excellent AA gun team remained at their posts despite the risk and fired directly into a building occupied by British whom were wiped out. This diversion did however prevent the Germans from launching a strong early counter attack to secure the bridge so was of value to the British.
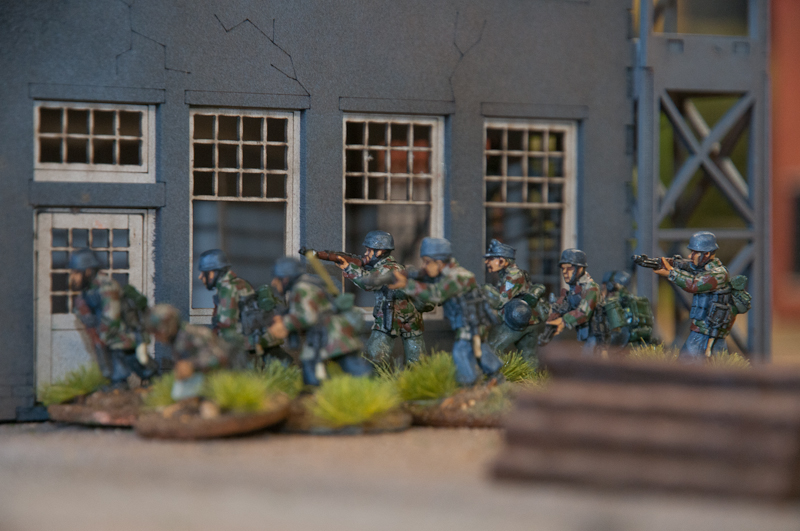
Once the 736th Grenadiers had moped up the Brits to the north, the German attention focused on retaking the bridge. They brought up reinforcements in Hannomags onto the roads ahead of the bridge whilst troops in local buildings fired down onto the bridge.
They were able to use smoke dropped by the British to cover their own initial moves for our own advances. Mortar teams were also able to bring down fire which prevented a break out by the paras whilst they mustered up our counter attack. The Germans took their time and re-crewed the Hannomags, preparing for a co-ordinated attack rather than just feeding in troops piecemeal.
To the flanks of the bridge the Germans managed to prevent the British from flanking us or taking any buildings flanking the bridge although they did wipe out our Nebelwerfer position. This gave a relatively (relatively!) safe route to the bridge up the road, though I would note the paratroops’ piats appear to be a particularly ineffective weapon, barely scratching our Hannomags. They did take some casualties on their left flank to a flamethrower and lost some mortar teams, but then focused on the scherpunkt on the bridge. British mortars also caused me some problems but steady advances threw off their targeting.

Once ready, towards the days end, we launched three hannomags with infantry support onto the bridge and managed to push the British back off the northern side. A lack of AT fire thanks to our prior targeting of their Piat teams (three were killed) meant they were unable to stop the Germans, despite insanely brave infantry assaults by their troops (including mortar teams!). The British are now down to a couple of MMGs and mortar teams on the bridge and are expected to be wipe out. I have to commend the bravery of the British, they stubbornly refused to surrender and give up positions even when facing certain death.
American airborne
American airborne troops landed on the outskirts of Sainte-Mère-Église and pushed into the town they meet farce German resistance that kept up all day. One of the American first objectives was to take the church. Despite hard fighting they were not able to achieve this.

The American fighting to cross the river was hard and slow going. The Germans pinning them down on the bridge for many turns. Other airborne units were also struggling to dislodge the defenders from other building in the village. These problems were made fare worse for the American airborne when late in the game a large German column arrived, making the American position hopeless.
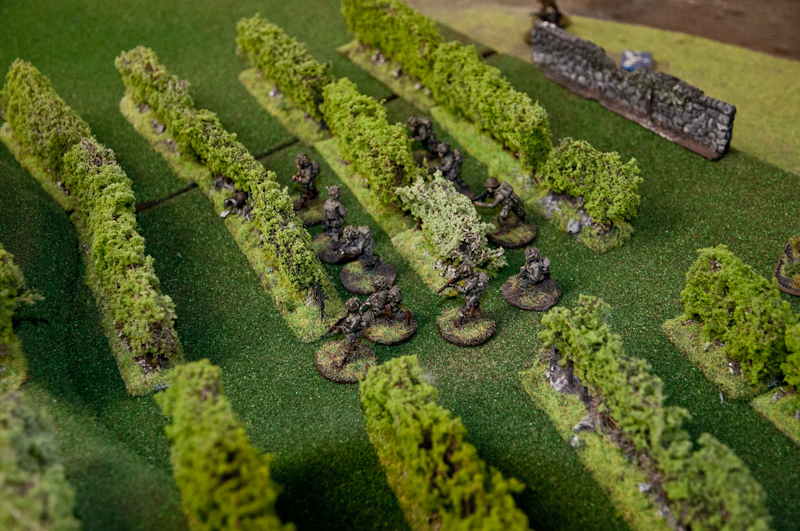
The airborne units found their second objective a different prospect. Making a very accurate landing amongst the vineyards they found that the Germans had left this vital position virtually undefended.
The elite airborne units were able to overrun the large German battery in 2 turns. But for some reason decide to hold their position and not push on the to vulnerable rear beach head defences. They were only stirred into action by an attack from the reserves of German SS. They managed to destroy the German 88 guarding the main road form the beaches. But by then it was to late.